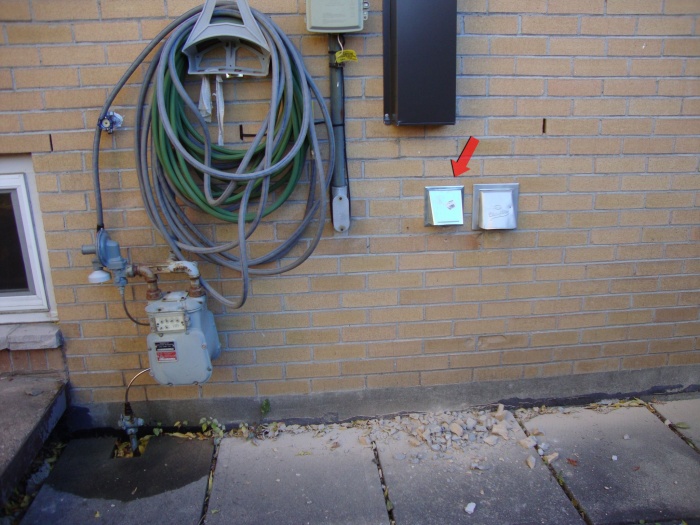
Inline Bathroom Fan Project
Posted: Tue Sep 21, 2010 7:58 pm
Started on the installation of an inline bathroom fan, first time I do a project to this extent. I could have just changed the fan itself and kept the housing, but I don't like how most bathroom fans are quiet for about the first month and get very noisy, and eventually die. That, and the location of the vent was on top of my other roof causing ice buildup in winter.
Due to mobility/space constraints in the attic, I was unable to vent in the other soffit and through the roof would cause condensation to build up inside the pipe even if it's well insulated. (hot moist air meeting cold air inside the pipe).
So ended up venting in the basement.
Not quite done yet, still need to rent a 4" hole saw to do the hole in my basement wall, and run the pipe, and there's also some drywall patching to do, and also a leak in the attic where some attic air gets sucked in, which in result lowers the performance of the vent in the washroom.
I ran a test by making the shower go at a temp I normally take mine at, and closed the door. No fog on the mirror with the fan on (a lot when it was off). I raised the water temp even more, and it started to fog up a bit, but when I stopped it, the fog was going away pretty fast. That's with the door closed, with my old fan I used to take my shower with the door open as it could not keep up anymore and the mirror still fogged up.
I love how quiet this is now, all I hear is the sound of air flowing through. It currently vents right in the basement, until I can run the rest of the duct. I like the idea of the fan being in the basement though, as it enables me to be able to service/maintain it if needed, without going in that attic.
Anyway, here are some pics so far: (easier to just link to the gallery, will add more once I'm done)
http://gal.redsquirrel.me/?level=album&id=31
Archived topic from Iceteks, old topic ID:5252, old post ID:39614
